
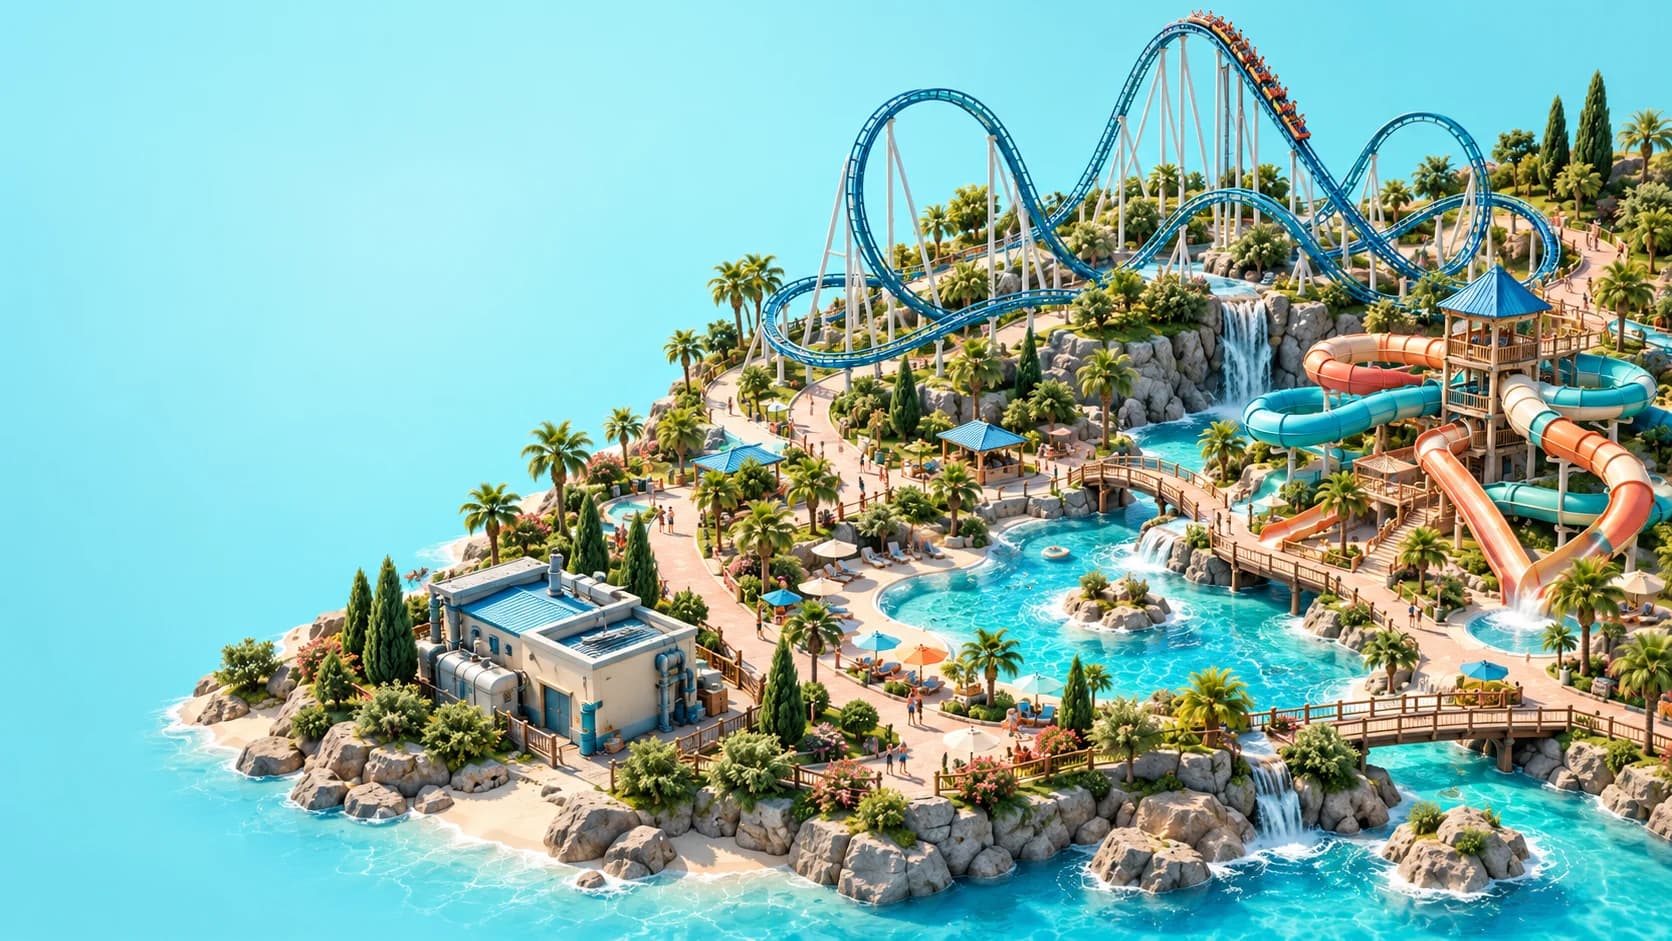
To make Planet Coaster 2 pools usable, build the pool with guest access, connect its area to public paths, provide Pool Passes through Guest Services, add Changing Rooms, supply clean filtered water and cover swimmers with lifeguards. A custom flume also needs its platform, entrance route, completed slide, safe ending, successful test and an attendant before opening.
The practical sequence below follows Frontier's official pool, facilities and staff guides checked on October 26, 2026. The suggested diagnostic order is editorial advice based on those documented dependencies; it has not been tested in a live park. Use the values and warnings shown in your own game when assessing a particular design.
01
Build a pool around the guest route
Pool construction offers Line Builder, Draw Tool and Stamp Builder. Choose the tool that fits the shape you want, then consider its depth, edges and access points together. For a first project, a simple design makes it easier to see whether each supporting service works before decorating a larger area. That is a learning recommendation, rather than a prescribed pool size or capacity rule.
Add the necessary ladders or other pool access and connect the surrounding area to a public path. Trace a guest's journey from the park entrance to the pool area instead of judging the connection from above. A nearby path or attractive edge does not establish a usable route. The paths and queues guide covers the wider path network and the difference between guest and staff routes.
02
Provide Pool Passes and Changing Rooms
Guest Services sells Pool Passes, and guests need Changing Rooms before swimming. Include both services while planning the pool area so the guest journey extends beyond reaching the water. If a finished-looking pool attracts no swimmers, inspect these facilities and their access before changing its shape or adding a second pool.
Changing Rooms also create an ongoing cleaning requirement. Janitors keep them clean, so remember the service after the opening stage. Our recommended check is to follow the whole sequence: guests can reach Guest Services, obtain the relevant pass, reach a usable Changing Room and continue to the pool. This keeps a missing supporting facility visible as a separate problem from the pool's construction.
03
Connect clean water through the utility network
The documented water network uses Water Pumps, pipes and Water Filters. Filters serve pools and flumes within their displayed range, and pumps need power. Check the network connection, coverage and available supply separately. Placing a filter beside a pool does not demonstrate that the filter has the water and power support it needs.
Open the utility heatmaps and read the current information for the facilities involved. If water service fails, start at the supply and follow it through the network to the affected pool or flume. The power and water guide explains generators, distributors, pipes, capacity and maintenance in more detail. Tracked water rides such as log flumes have different requirements from the pool and water-slide filtration network, so identify the attraction before applying this checklist.
04
Cover the swimming area with lifeguards
Lifeguards work from Chairs or Posts, each with its own area of view. Use the Pool Safety heatmap to inspect coverage across the actual swimming area. A lifeguard somewhere near the pool is not sufficient evidence that every part of an irregular shape is covered. After changing a pool's outline or extending an area, check the heatmap again.
Plan for relief while lifeguards take breaks. Staff availability changes over the day, so a pool that looks covered at opening may need attention later. Review assignments and access to reachable Staff Rooms as part of the operating plan. The staff management guide covers schedules and breaks without relying on a universal lifeguard-to-guest ratio. The relevant question is whether the required points remain staffed and the heatmap shows appropriate coverage.
05
Start a custom flume with its platform
A custom flume begins with a platform and an entrance piece, followed by the slide's track. Plan the route to that entrance while choosing the platform position. A complete-looking slide high above the pool can still have a guest-access problem if the entrance route has not been connected properly.
Finish with a suitable safe end piece or a pool, following the options and feedback for the design you are building. Check the beginning, the track and the landing arrangement as one complete attraction. Avoid treating an unfinished ending as a small decoration issue: it belongs to the slide's basic operating checks. For a first build, make the route easy to inspect before expanding it into a more complicated structure.
06
Test the flume and check its operating staff
Test the completed slide before opening it. Read the result and any warnings, then investigate the part of the attraction they identify. After changing the track or ending, test the revised design again rather than relying on a result from an earlier layout. This is a practical way to keep the test relevant to what guests will actually use.
Provide the required clean water and an attendant, and confirm that guests can reach the entrance. Flume attendants and pool lifeguards have different duties: adding a lifeguard does not cover a missing attendant. Once the slide opens, observe its operation through normal staff breaks as well as its initial opening. A functioning entrance, supported utility network and available staff need to work together.
07
Diagnose an empty or closed water area in order
When a pool or flume seems unused, separate access, services and operation. First trace the public route and pool access or flume entrance. Next inspect Pool Pass sales and Changing Rooms where swimming is involved. Then check clean-water supply, filter coverage and pump power. Finally inspect safety coverage, staff assignments, breaks and any attraction-specific warnings or test result.
This order is an editorial troubleshooting method, not a universal fix. Change one suspected cause and observe the result before making another large alteration. If everything appears ready, read guest thoughts and the attraction's information rather than assuming the solution is always more water, another slide or a larger pool. A guest-service problem and a construction problem can produce similar visible results while needing different actions.
08
Add extras after the essentials work
The official pool guide describes extras such as wave machines, lazy-river jets and scenery. Pool size, extras, surrounding scenery and attached flumes can contribute to pool prestige. These options give you ways to develop a successful area, but they do not establish one universally ideal layout or a guaranteed return from every addition.
Expand after confirming the existing pool's access, water and staffing. Recheck those dependencies when the layout changes, then use the money and prestige guide to place the attraction within the park's wider finances and guest experience. Keep pool prestige, attraction operation and overall park rating as separate checks when deciding what to improve next.